Veeam Endpoint Backup FREE– Virtual Test Restoration
So you installed Veeam’s Endpoint Backup FREE on a physical system in your environment. Yes, it’s a FREE physical backup solution.
You’re excited about the fact that you have a bare-bones recovery option of your physical system but you wonder, “How can I easily go about test restoring Veeam Endpoint Backup FREE backups?” It’s actually quite easy to do if you have Veeam Backup & Replication v8 or v9 running on your virtual environment.
Here are the steps to restore that endpoint backup as a virtual disk. Once restored and tested you can rest comfortably knowing you have a working backup.
First, let’s assume you have a fresh backup from Endpoint Protection and that it is stored on an external hard drive attached to the physical system. (Note: You can send your Endpoint Backups directly to your Veeam Backup & Replication storage.)
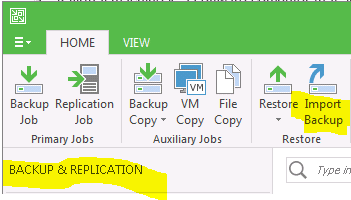
Copy your file to your local Veeam Backup & Replication server. Then, open up Veeam Backup & Replication and on the Home tab in “Backup & Replication” as shown below, select “Import Backup”. (Some of the appearance here may vary from Veeam Backup & Replication v8 but it is the same process.)
Select “Import guest file system index” and then “Browse…”
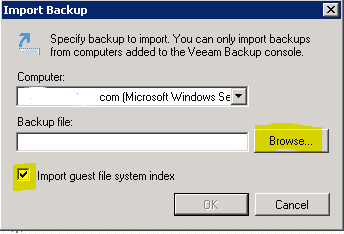
Browse to the folder you copied to the backup and select “Open”.

Now that the backup has been imported, you can use it to restore individual files and folders or restore it as a virtual disk similar to any other Veeam backup.
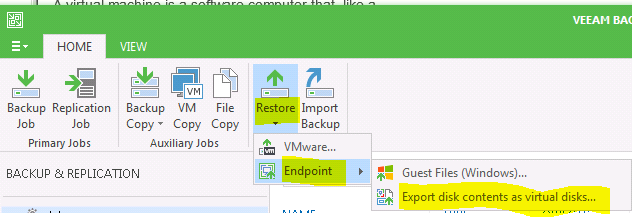
On the “Home” Tab in “Backup & Replication” (as shown below), select “Restore” -> “Endpoint” -> “Export disk contents as virtual disks…”
Please note that “Guest Files” restore option is above as well.
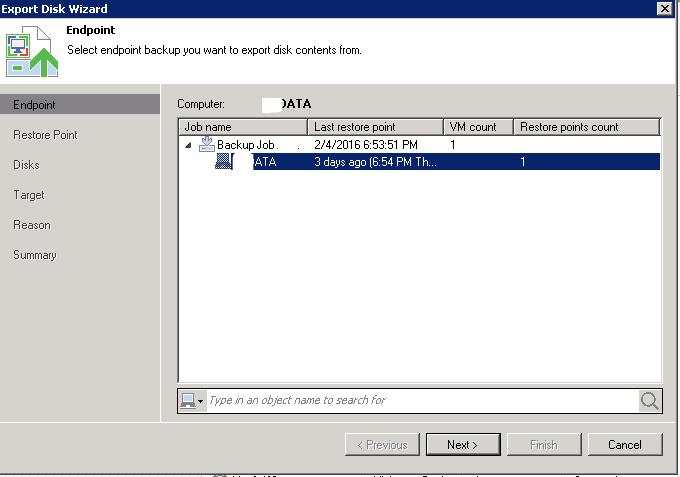
Select your Endpoint backup and hit “Next”, as shown below:
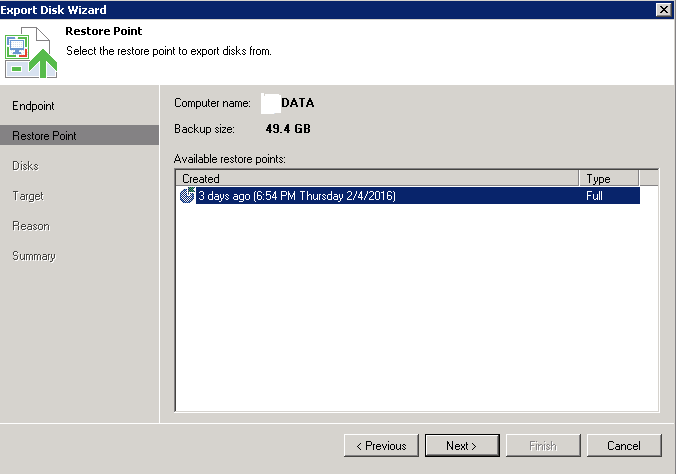
Select your Restore Point and hit “Next”, as shown below:
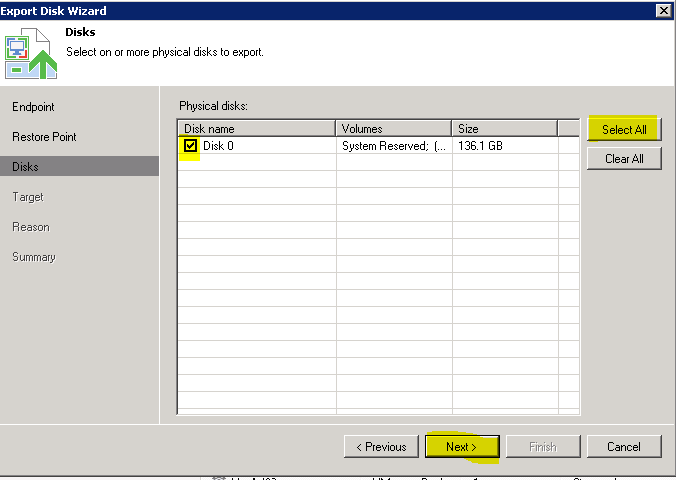
“Select All” Disks for a full restore, as shown below, and hit “Next”:
Select your restore target, as shown below, and hit “Next”. Note: In this example I am restoring to an VMWare host so it uses the VMDK format.

From there, enter in a reason on the next screen and select “Next” and then review the summary and select “Next” to process.
Once the restore completes, you now have your physical disk converted to a VMDK which is the format you need to view it on your VMware virtual host. (Or VHD or VHDX for Hyper-V environments.) You basically have just one, big file, which doesn’t mean much to your virtual environment. You’ll need to create a new virtual server and attach this data to it in order to view the backup and verify that it’s good.
Note: It is not recommended to use this method to migrate physical servers to virtual. You should use the free tools supplied by your virtual host provider for proper P2V processing.


Comments
Post a Comment